A webform provides company founders looking for funding the ease to be able to submit their interest and provide more details about what they do and are looking for. As an Edda user, you need an easy way to create and manage forms that can be easily implemented onto your website or sent directly by a link. This is where the webform builder comes into action.
With the form builder, you can create a customizable web form for each pipeline in your Dealflow. This article will show you how to use this feature and set up the form to match your specific needs.
Note: If you currently utilize a web form that has been created by our team, due to underlying technical changes, it is not possible to modify this form. If you wish to modify your existing form, you can use this feature to recreate the form, which can then be updated and modified in the future.
Creating your first form
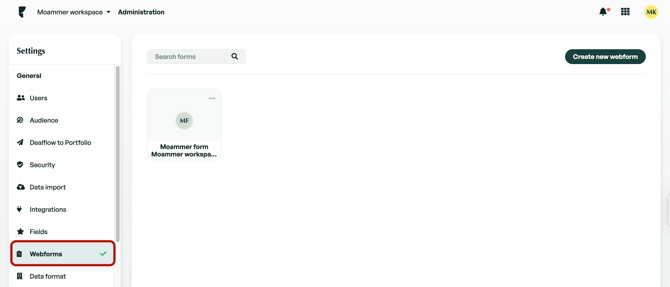
To get started building your first form, you will need to access the webforms tab located in the administration panel.
Once you have navigated to this section, you can begin the creation by clicking the 'create new webform' button, selecting both the name, pipeline and the default user who will be assigned to the companies submitted through the form (Optional).
If you have previously created a web form using this feature, you also have the option to create additional web forms using the previously created form.
Please note that only one web form can be attached to a pipeline.
Form Editor
Now you have set the name and chosen the pipeline, you will be displayed with a web form editor which allows you to select which fields to include, add a logo, set the questions, and change the base colours of the form.

Adding content to your form
To begin to add content to your form, you can click the blue '+' button on the editor menu. This will display a modal in which you can select your desired metrics, company data, or any extras you wish to include on your form.
Note: For metrics, the time periods displayed in the form follow the earliest and latest periods defined in the Dealflow company metrics table. To update them, go to Dealflow → select any company → Metrics → Table settings.
The available fields and metrics which can be added will depend on the fields contained in your dealflow. If you would like to include additional/custom fields that are not available in the list, you can proceed to add them to the company page and they will be made available to be added to the form.
Note: The company name cannot be removed from the form as this is required to create the company profile.
Editing form content
On the top of your form, you can add a logo and both a title and subtitle. These can easily be changed by clicking on them and changing the placeholder.
Each field and metric you have included on your form will have a default description representative of the data field. This can easily be changed by selecting the 'Your question here' placeholder and adding a more detailed description. If you do not change the placeholder, the description will default to the field name.
You can select which fields are mandatory for the form to be submitted.
Tip: If you are not happy with the order of your form fields, you can easily drag and drop them to reorder the form.
Adding Terms of Service
If you have included terms of service on your form, you can add a link to your personal terms and service by clicking on the highlighted text.

Designing
Now you have completed the main section of your form, the next step is to design the colours you wish to utilize on your form. This can be easily completed by selecting the Design tab and choosing the colours you wish to use for the Background, Buttons & Labels.

Confirmation page
The final step to completing your form is to create a confirmation page which the user will receive once they have successfully submitted their proposal to you.
As with the editing of the form, you can easily modify the confirmation message by selecting the text and making changes. You can modify the button by clicking the button and selecting 'edit'. This will allow you to change both the text and the web address to redirect the user.

Share completed form
Now your form has been completed, you can publish this by selecting the share button. You will now receive both the direct link (which can be sent directly to companies) and an iFrame (which can be used to implement the form into your website).
Completed forms
Forms that have been created will be stored in the web forms tab. From here you can perform actions such as viewing, editing, sharing, duplicating, deleting, and creating additional forms.

To view your form, simply select the view option in the actions menu. From here, if you wish, you can submit your own data to view your form in action.
For every company which has been created through the use of the webform, there will be a tab in the company profile named Form. This tab will display the data submitted on the form.
If you have any questions when using the form builder, please contact our support team. We are always available and happy to help.